How to schedule a WordPress post.
If you don’t want to stay day after day posting your WordPress posts, there are an easy way to program all your entries, with an hour and a date you chose.
You can create wherever you want, uploading images, files and even music*, ready for leaving them to publicize. All the posts you want, each-one with his own date and hour, with even months in advance!
So now, I am going to explain you how it can do.
First of all, create a post like every time you did. Enter categories, hashtags, images, vídeos, whatever you want to put.
Then, when all your post is ready to go, is the moment when you have to program.
In the upper right corner of the window of creation of new posts on WordPress, you can see a dedicated section to save or post your posts. There you can post immediately, save as pending review, draft box or schedule.
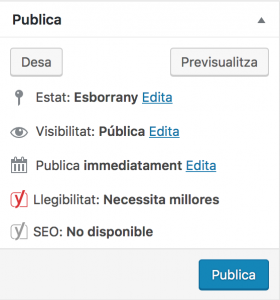
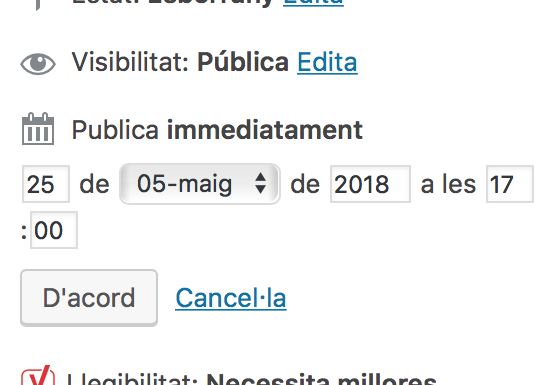
To schedule, you have to click above the “edit” button next to “immediately publish”. Enter day, month, year and hour, and then click on “accept”. Next, click on “schedule” and it will be ready!
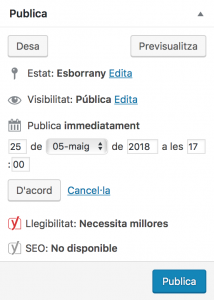
Important is to be sure that say “schedule” and not “publish”, because it is easy to make a mistake and not change the month or the day, so the date would be earlier than the current one. The same when you are programming posts to be published next year.
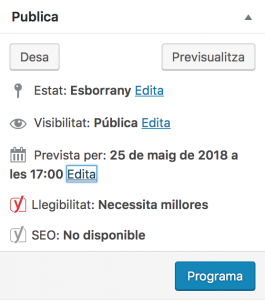
Once the post is well programmed, it will be publicized automatically on the indicated date.
All the time, you are going to have the programmed posts in sight, and you can modify whenever you want, even the date or delete it if you reconsidered the post!
* How put music in your WordPress?
The first thing is installed the plugin “MediaElements. js”.
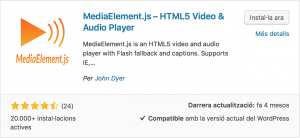
When the installation finish, we have to insert the music. We have to “click” to “Media”,”Add new” and drag your audio file. WordPress recommends not to add a big file to impede the site load too much.
When the audio was uploaded, copy the URL of the file and save somewhere.
Now we are ready to add the player. We add it wherever we want, either in a specific post or on the blog’s homepage.
When you chose the place, go to it and add a text lab. Then we have to insert the next code [ audio=src ” ” ] and in the place where we can see the quotes, we have to insert the URL of the audio file that we saved previously.
Go back to visual page and you will see the player already inserted in your entry.

